Concrete sidewalks are essential for both functionality and aesthetics in residential and commercial areas. Over time, however, they can develop cracks due to various factors like weather conditions, ground movement, or heavy traffic. Properly sealing these cracks is crucial to prevent further damage, maintain the sidewalk’s appearance, and ensure safety. Here’s a comprehensive guide on how to effectively seal cracks in concrete sidewalks.
Understanding the Importance of Sealing Cracks
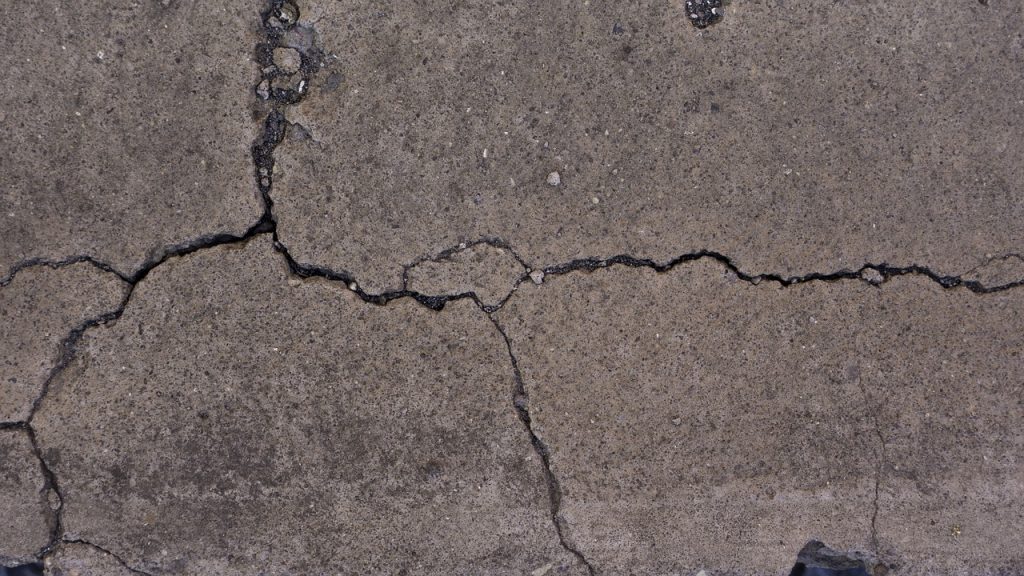
Cracks in concrete sidewalks are not just unsightly; they can also lead to more severe problems if left unaddressed. Water infiltration can cause the soil beneath the concrete to erode, leading to further cracking and uneven surfaces. In colder climates, freeze-thaw cycles can exacerbate the problem, widening the cracks and causing chunks of concrete to break off. By sealing cracks promptly, you protect the integrity of the sidewalk and extend its lifespan.
Materials and Tools You’ll Need
- Concrete crack filler or sealant: Choose a high-quality product designed specifically for concrete repairs.
- Chisel and hammer: To clean and widen the cracks if necessary.
- Wire brush: For removing loose debris from the cracks.
- Caulking gun: If using a tube of sealant.
- Putty knife or trowel: For smoothing the sealant.
- Protective gear: Gloves, safety glasses, and a dust mask.
Step-by-Step Guide to Sealing Cracks
- Inspect the Cracks
- Begin by thoroughly inspecting the sidewalk to identify all visible cracks. Note the size and depth of each crack, as this will determine the type of filler or sealant needed.
- Clean the Cracks
- Remove any loose debris, dirt, or weeds from the cracks using a wire brush. For larger debris, you might need to use a chisel and hammer. Ensure the cracks are as clean as possible to allow for better adhesion of the sealant.
- Widen the Cracks (if necessary)
- If the cracks are very narrow, it might be beneficial to slightly widen them using a chisel and hammer. This creates more surface area for the sealant to adhere to, ensuring a more effective repair.
- Prepare the Crack Filler or Sealant
- Follow the manufacturer’s instructions for preparing the crack filler or sealant. Some products may require mixing, while others are ready to use straight from the tube.
- Apply the Sealant
- Using a caulking gun, apply the sealant directly into the crack, starting from one end and working your way to the other. Make sure to fill the crack completely, avoiding any air pockets.
- Smooth the Sealant
- Use a putty knife or trowel to smooth the surface of the sealant, ensuring it is level with the surrounding concrete. This step not only improves the appearance but also helps the sealant bond more effectively.
- Allow the Sealant to Cure
- Allow the sealant to cure according to the manufacturer’s instructions. This may take several hours to a few days, depending on the product used and the weather conditions.
- Inspect the Repair
- After the sealant has fully cured, inspect the repair to ensure it is solid and has adhered well. If necessary, apply a second layer of sealant for added durability.
Maintenance Tips
- Regular Inspection: Periodically inspect your sidewalk for new cracks or signs of wear in the sealant. Promptly addressing any issues will prevent more extensive damage.
- Cleaning: Keep the sidewalk clean to prevent dirt and debris from accumulating in the cracks and affecting the sealant.
- Seasonal Care: In colder climates, apply a concrete sealer before winter to protect against freeze-thaw damage.
Conclusion
Properly sealing cracks in concrete sidewalks is a straightforward yet essential maintenance task. By following these steps, you can ensure the longevity and appearance of your sidewalks, preventing further damage and maintaining a safe environment for pedestrians. Regular inspection and maintenance will keep your sidewalks in top condition, saving you time and money in the long run.